849
03Mar2022|58: 06
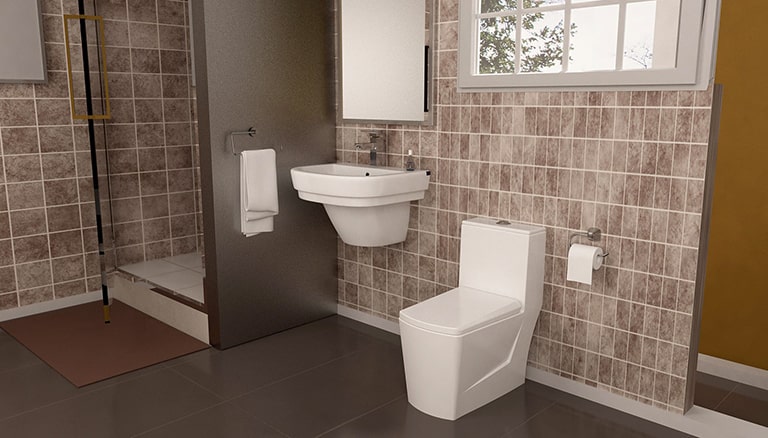
to install a toilet in your home, we will teach you how to do it step by step .
Install a toilet
Skills required: Medium
Time: one hour
Materials and accessories for installing toilets in the bathroom
Toilet with tank and seat
(optional, but easy to do )
Screwdriver Square screwdriver Double
screwdriver
Wrench
pliers or
wax ring pliers
Bath / kitchen
sealing hose Toilet connector (most toilets have a 1.2 by 2.1 connector Need (
coins (cheaper than toilet linings ))
If you are an experienced plumber or have a strong stomach, I suggest a pair of gloves and an old dress to remove the old wax ring and screw .
1 . Remove old toilets, screws, and washers .
A double screwdriver is used here. Do not let old wax rings and any kind of dirt touch your skin. There may also be some sewage gas in the area that you should avoid inhaling .
You can solve this problem by putting an old one inside the opening, just don’t forget to take it out of the opening when you’re done .
۲ . Install the new jelly hopper and screws .
Buy a jelly steamer that has screws. Screwdrivers are slightly more expensive than screwless boilers. When installing the bolts and screws, make sure that the screws are fixed in the grid and that they are positioned correctly .
3 . Lift the toilet bowl and place it on the wax ring .
Make sure the screws fit snugly into the toilet bowl holes. After placing the bowl, press it slightly to firmly foam on the ceramics. This creates an impermeable water duct .
4 . Install nuts and washers on each screw .
It is not recommended to use plastic packages that hold the decorative cover in place, as the toilets will shake slightly over time. Preferably, the washer will be in contact with the porcelain surface of the toilet bowl. Avoid tightening the nuts too much as this will damage the porcelain surface .
5 . Install the plastic cover .
Instead of a plastic clamp, you can use a small piece of sealant .
Note: I’m telling you a point here that is not in the plumbing manuals: Most floors are uneven and this can cause the toilet to shake. You can adjust the bottom of the bowl with a coin and solve this problem .
6 . Level the toilet as well .
Use a double-headed screwdriver and lift the toilet slightly. Put a coin or coins under the toilet and adjust it. This prevents the toilet from shaking, which causes the toilet to move. Of course, you may use metal washers for this purpose. The problem with metal washers is that they do not come in a variety of sizes .
7 . Install the toilet tank .
You can also do this before fixing the toilet. This makes the screws easier to tighten. But the disadvantage of this is that the toilet becomes heavier and it is a little harder to fix it on the wax ring .
8 . Install the screws from under the shaft and tighten the nuts .
In this photo, you can see how Hardy is tightening the nuts. Be careful not to tighten the nuts too much. Tightening the back nuts is a bit difficult, which is why Hardy uses a wrench to do this. You can get rid of this by installing the tank before fixing the toilet .
9 . Install the connector hose .
Attach one end of the hose to the pulley attached to the wall and the other end to the tank. Most spans are 1.5 cm and the openings of the tanks are 2.1 cm. Measure the distance between the tank and the wall before buying a hose .
10 . Install a toilet seat .
Install the seat to the toilet using a screwdriver. If you can buy a living room and toilet as a kit because sometimes it is a little difficult to buy a living room that is the same size as the toilet. A plastic seat is recommended to observe the hygienic principles. Also, if you go to the bathroom in the middle of the night, closing the living room will not wake anyone up .
۱۱ . Put the plastic cover on the screws .
Note: These coatings have features that few are aware of. When cleaning the toilet bowl, remove these covers so that the seat is easily detached from the toilet and you can easily clean it .
۱۲ . Seal the seam between the toilet and the floor ceramics .
This is done according to building codes and prevents the accumulation of dirt in this area .
13 . Open the valve .
Hold your breath. Check all parts of the toilet for water dripping from them. You can also measure how long it takes for the toilet to fill with water .
Your toilet is installed .
https://neginalborznovin.com/en/?p=801